
Rockwool Vapor Barrier Installation: The Whittier Owner’s Guide
Rockwool vapor barrier installation in Whittier typically runs $1,800-$3,400 for a full attic or crawl-space application depending on square footage and whether we’re retrofitting over existing insulation or starting from the subfloor. Most Whittier jobs we book are completed same-day or next-day, and we stock Rockwool Comfortboard 80, Comfortbatt, and AFB evo vapor-barrier-compatible assemblies on our trucks. Homeowners usually discover a problem when they pull back insulation in a Uptown bungalow or Friendly Hills ranch and find black staining on the kraft facing, or when a home inspector flags condensation on the underside of roof sheathing during a sale - the vapor barrier failed to migrate moisture outward, and now the cavity’s holding water against the framing.
Which Rockwool Models This Applies To
Rockwool manufactures three product lines we regularly pair with vapor barrier systems in Whittier’s climate zone (CZ-12, marine-influenced with dry summers and occasional winter moisture events). Comfortbatt - the batts with the flexible edge - is the most common retrofit we see in 1950s-1970s Whittier tract homes with 2×4 or 2×6 stud cavities. Comfortboard 80, the rigid board, gets used in crawl-space encapsulations where we need a vapor-barrier-facing assembly that won’t compress under foot traffic. AFB evo, the acoustic fire batt, shows up in accessory dwelling units and garage conversions where local code requires both fireblocking and moisture management.
Identification is straightforward if you know where to look. Comfortbatt has a printed lot number and density rating (3.5 lbs/ft³ for standard wall batts) on the kraft facing; the vapor barrier compatibility is determined by whether that facing is intact or whether we’re adding a supplemental poly or smart membrane. Comfortboard 80 ships unfaced - any vapor retarder must be field-applied, typically a 6-mil poly or a variable-perm membrane like CertainTeed’s MemBrain depending on the assembly drying strategy. The gotcha we run into in Whittier’s older homes: Comfortbatt 23 for 2×4 walls and Comfortbatt 24 for 2×6 walls are not interchangeable by thickness alone - compressing a 24 into a 2×4 cavity voids the vapor barrier’s rated permeance and creates a convection loop at the edges.
We source Rockwool through standard distribution - we’re an independent service provider, not affiliated with Rockwool - and we also stock Reflectix radiant-barrier products for hybrid assemblies where the homeowner wants both vapor management and emissivity reduction. For OEM-versus-aftermarket on vapor barriers specifically, Rockwool’s factory kraft facing is a 1-perm asphalt-impregnated paper that works in heating-dominated climates but is marginal for Whittier’s mixed-humidity winters; we often spec a supplemental smart retarder rather than trying to match the factory facing exactly.
Signs Your Rockwool Vapor Barrier Installation Is Failing
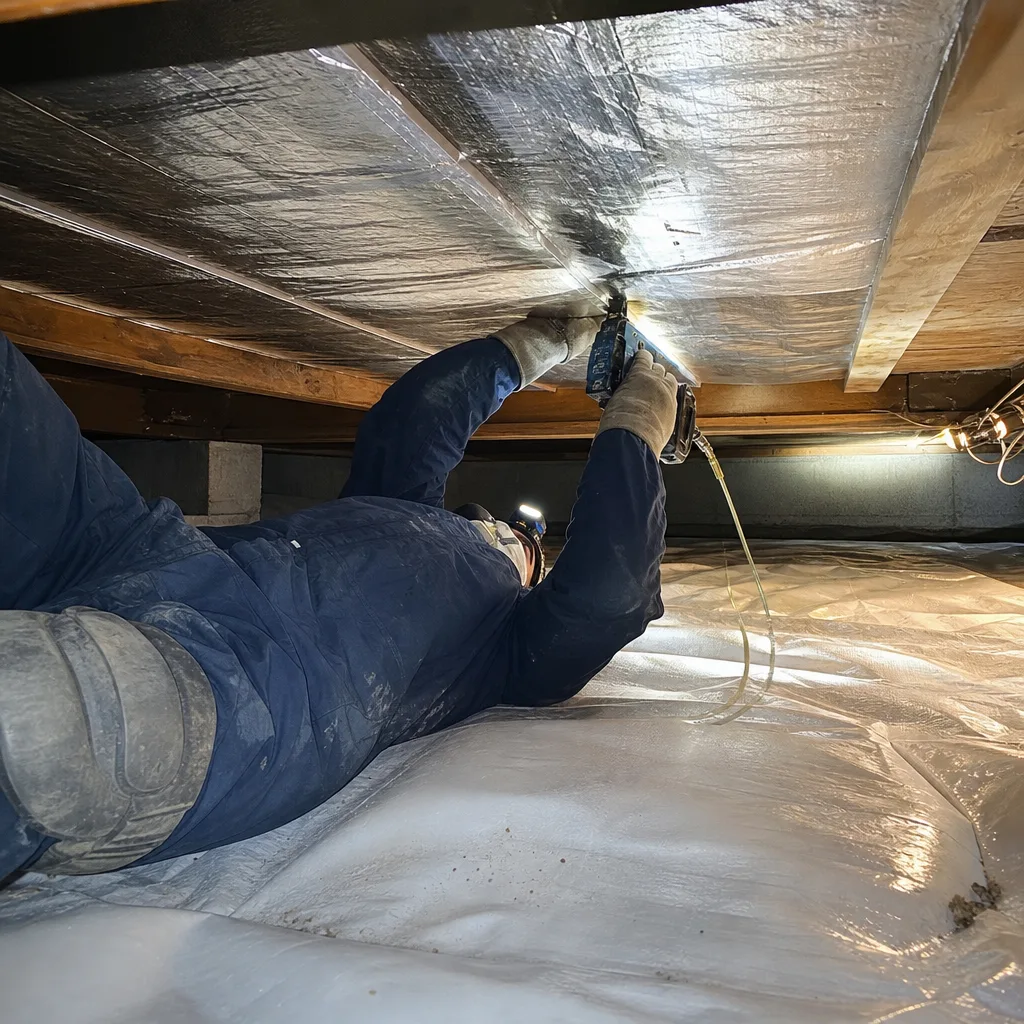
- Black or gray streaking on the kraft facing or surrounding framing. This is mold feeding on accumulated moisture that the vapor barrier trapped rather than blocked - in Whittier’s spring marine layer, a compromised facing lets vapor in during cool mornings and can’t release it when temperatures rise.
- Insulation that feels heavy or clumps when handled. Rockwool is hydrophobic and won’t absorb liquid water, but a failed vapor barrier allows condensation to wet the cavity air, and that moisture loads the adjacent wood or drywall; the batt itself stays dry but the assembly fails around it.
- Musty odor in conditioned spaces during Santa Ana wind transitions. The pressure swing pulls air through previously sealed cavities; if the vapor barrier has torn at electrical penetrations or top plates, you’re smelling the cavity’s moisture history.
- Paint bubbling or plaster cracking on exterior walls, typically south- and west-facing. Solar drive pushes vapor inward through the cladding; without a functioning retarder on the warm-in-winter side, that moisture condenses on the back of the interior finish.
- Home energy audit showing elevated ACH50 with no obvious duct leakage. A torn vapor barrier at the attic hatch or around can-light housings creates a bypass path - the house leaks through the insulation cavity, not around it, and the blower-door test reads high even when windows and doors are tight.
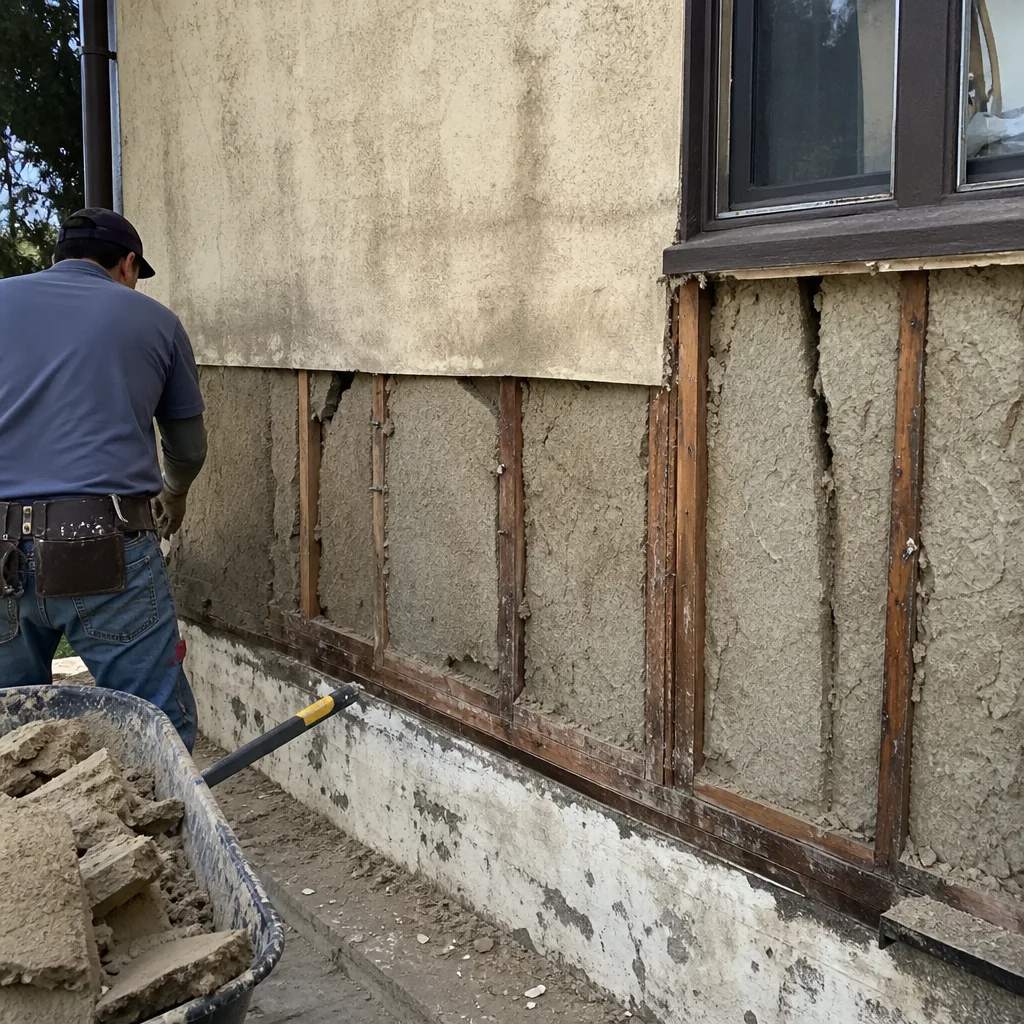 Before
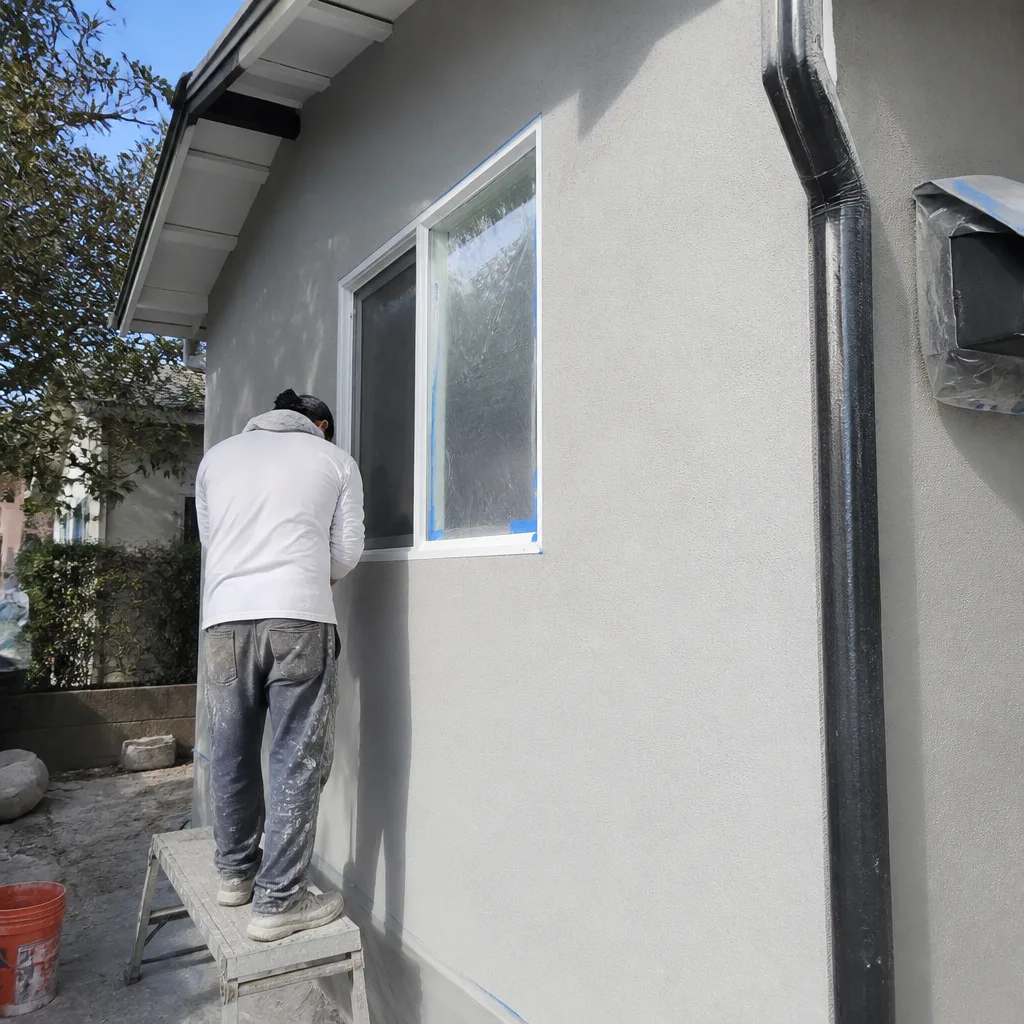 After
AfterReplacement Cost & What’s Included
In Whittier, a full Rockwool vapor barrier replacement - removal of compromised batts, air-sealing of top plates and penetrations, installation of new faced batts or unfaced batts with supplemental membrane - runs $2.20-$3.80 per square foot of cavity area. A typical 1,200-square-foot Whittier ranch with attic and partial crawl space lands between $2,600 and $4,200. Wall-only retrofits where we’re working from the interior run higher per foot because of finish repair; crawl-space-only jobs run lower because access is direct.
The range moves with three factors: cavity depth (2×4 versus 2×6 versus cathedral ceiling with limited working space), whether we’re matching existing R-value or upgrading, and whether the failed barrier has led to secondary damage requiring wood replacement or mold remediation. Our price includes removal and bagging of old material, blower-door-guided air sealing of all accessible leaks, new Rockwool with appropriate facing or supplemental membrane, and a post-installation blower-door test so you can compare before-and-after CFM50. Every job gets a Written Price Before Any Work Starts - Haven Standard Clause 1 - and a Documented Photo Record showing cavity conditions, air-sealing locations, and final installation. The 365-Day Done Right Promise covers all completed work.
DIY or Call Us?
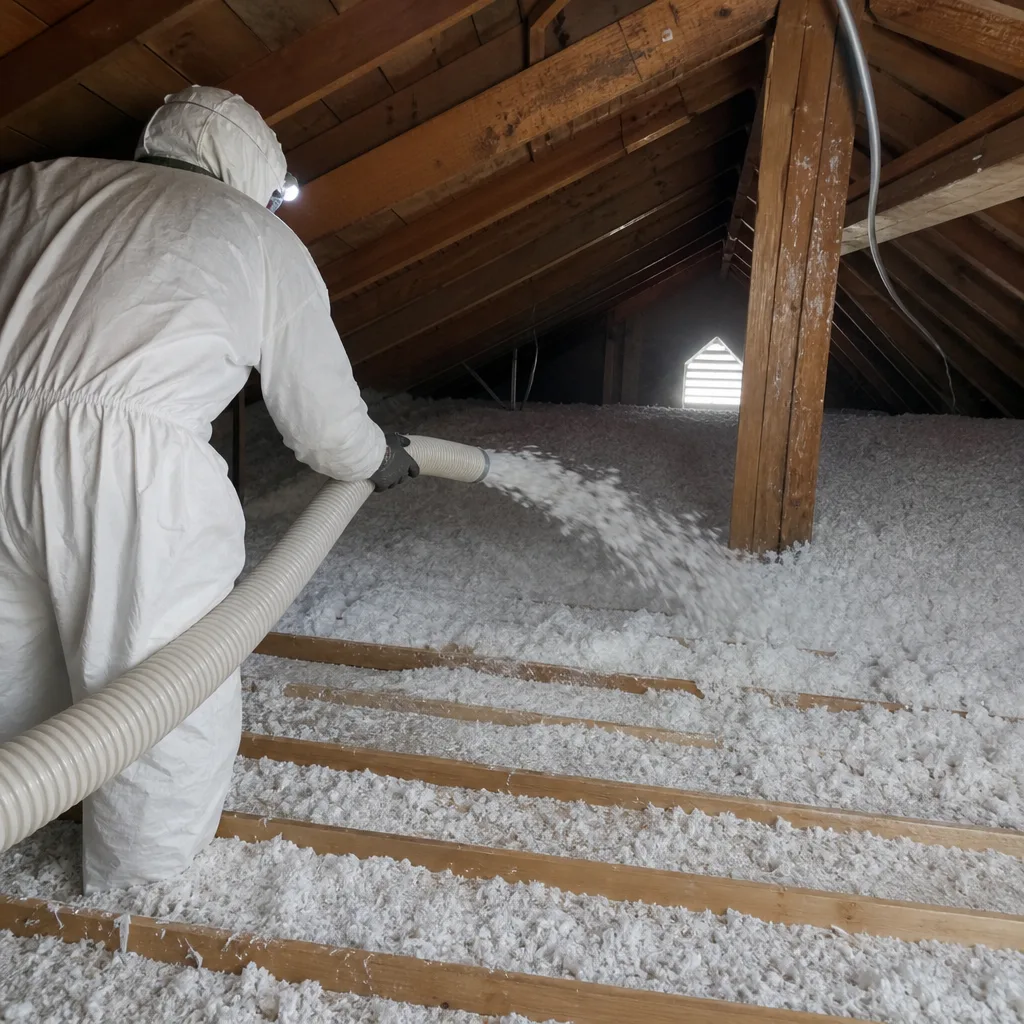
There’s a safe middle ground here, and then there’s where most homeowners get into trouble. You can safely inspect: pull back insulation at the attic hatch and two or three peripheral locations, photograph the facing condition, and check for staining or tears around electrical boxes and can lights. If the facing is intact and uniformly attached, the barrier is probably doing its job. Where DIY goes wrong is in the sequencing - installing new batts over an unsealed attic floor, or stuffing unfaced Rockwool into a cavity without addressing the thermal bypass at the top plate. We’ve pulled apart enough Whittier retrofits to know what skipping that step costs in August. The other hazard is working in conditioned crawl spaces with limited egress; California Title 8 requires confined-space protocols that most homeowners don’t have equipment for. Seal it first, then cover it - the insulation is not the fix, it’s the finish. If your inspection shows staining, torn facing, or wet framing, call (424) 349-7262 and we’ll read the cavity with you.
FAQs
In Whittier’s CZ-12 climate, a properly installed kraft-faced vapor barrier lasts 15-25 years before the asphalt-impregnated paper begins to embrittle and tear at penetrations. The actual lifespan shortens if the attic or crawl space experiences temperature excursions above 150°F - common in west-facing Whittier attics with dark shingles and inadequate ventilation - which accelerates facing degradation. Call (424) 349-7262 for an exact quote - estimates are free.
Small tears at electrical boxes can be patched with foil tape rated for high-temperature exposure, but widespread embrittlement or delamination from the batt means replacement - patching becomes a labor sink with diminishing returns. We evaluate this during our free second-opinion visits; bring us a competing quote and we’ll read it with you. Call (424) 349-7262.
Most Whittier attic vapor barrier replacements take one day for crews of two; crawl-space encapsulations with Comfortboard 80 run two days because of the drying time required between membrane seams and batt placement. We provide a written schedule with the written price before anyone lifts a tool. Call (424) 349-7262 to book.
Yes - we carry Comfortbatt 23 and 24, Comfortboard 80 in 1-inch and 2-inch thicknesses, and both 6-mil poly and variable-perm smart membranes for supplemental facing. For AFB evo or specialty thicknesses, we pull from Los Angeles-area distribution with next-day availability. We also stock Reflectix radiant-barrier products for hybrid assemblies. Call (424) 349-7262 to confirm compatibility with your specific Rockwool lot number.
Ready to get it documented and done right? Call (424) 349-7262 for a free estimate. A live person answers 24/7, and you’ll get a written price before any work starts - always - plus a Documented Photo Record and before-and-after blower-door numbers so you can verify what you paid for.
Written by Wes Okafor, Owner, Topside Attic Insulation Whittier at Topside Attic Insulation Whittier, serving Whittier and nearby areas.